Cooking school 101: Claire’s guide to the best-ever scones

Claire shares her tips and tricks for how to take your scones to fluffy new heights every time.
Scones are the ideal baked treat to whip up for morning or afternoon tea for so many reasons. They’re quick and simple to make, use very few ingredients, and can be adapted in all sorts of sweet andways. Sometimes, though, the simplest things can be the hardest to perfect, so Claire’s got you covered with her expert tips and tricks for scone success.
“For me, a freshly baked batch of scones is the ultimate ‘warm welcome’ when people drop by unexpectedly. I love how quick they are to prepare and cook, with ingredients I’m guaranteed to have on hand. Plus, they look so inviting, split and loaded up with jam and whipped cream. For something so easy, they can be quite hard to get just right, so here are a few simple techniques to achieve that irresistible light and fluffy texture every time.”
– Claire
Tips and tricks for light, fluffy scones
See Claire’s simple solutions for successful scones:
Tools of the trade
Using the right tool is important, and your fingers are the first ones you’ll be using! Lightly rub the flour and butter together with your fingertips until they’re just combined and look like rough breadcrumbs. Don’t worry if the mixture’s still a little lumpy; it’ll all come together in the end.
I always use a flat-bladed knife to bring the wet and dry ingredients together, using a technique that’s known as ‘cutting’. This means simply slicing through the ingredients at different angles until the mixture forms a loose, sticky dough. It’s important not to over-mix it so you retain as much air in the dough as possible.
Gently does it
When it comes to kneading scone dough, less is definitely more! Remember – it’s all about keeping as much air in the dough as possible, so you get that lovely rise when the scones are baked. Use your hands to lightly knead the dough on a floured surface. It should only take a minute. I’d steer clear of using a food processor or mixer, as it may be too hard on your dough.
Just roll with it
To make rolling out the dough as quick and easy as possible, first form it into a fairly even round. Then, using a lightly floured rolling pin, apply light and even pressure, turning the dough clockwise a quarter of the way at regular intervals, until it’s an even 2cm thickness. Don’t press down too hard – it’s worth taking a little more time so you don’t force out too much of that precious air! If you don’t have a rolling pin, you can gently pat down the dough round with the heel of your hand to an even thickness.
Straight to the point
One of the best secrets I’ve learned about how to achieve that fabulous ‘high-top’ look in my scones is the cutting technique. It’s all about keeping the cutter straight. So, whether you’re using a cookie cutter or the rim of a glass, push it straight down through the dough without twisting it. That way, the dough will rise cleanly, allowing it to achieve its maximum height. Aim to cut as many scones as you can from the round, as the more you have to re-form and roll the dough, the less it’s likely to rise.
Mind the gap
When you’re transferring your scones to the baking tray, place them so they’re just touching. That way, they’ll support each other while they’re rising in the oven. And don’t forget to brush them with a little extra milk to give that lovely burnished look on top!
Get it while it’s hot
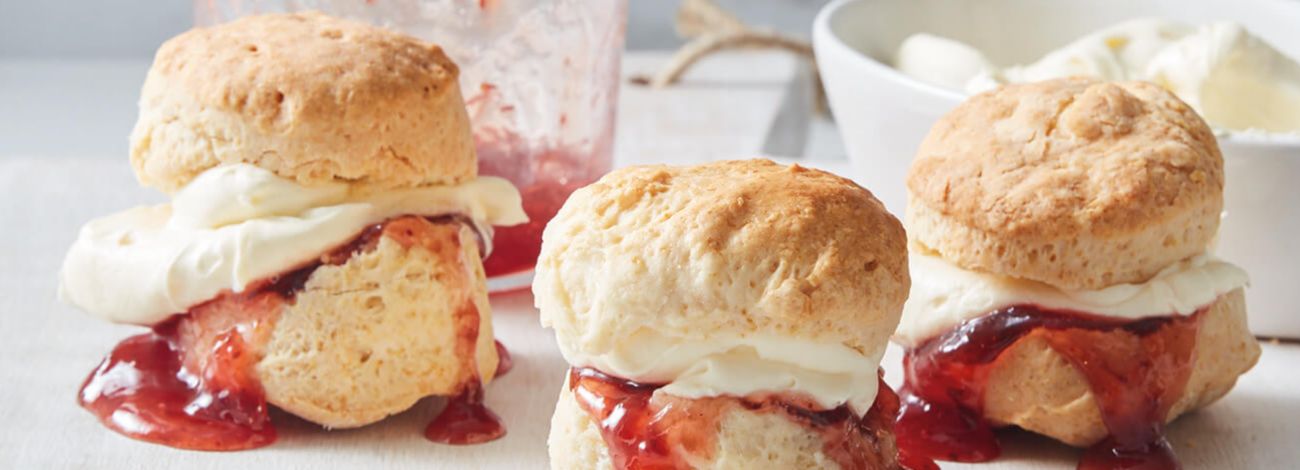
There’s nothing quite like a batch of scones served straight out of the oven, so, whenever possible, do just that! Serve them as they are on a plate for people to help themselves, or split them and slather them with jam and double cream. But be warned, there are two schools of thought as to which comes first, the jam or the cream, so maybe let everyone do it themselves!
Trouble-shooting your scones
Sometimes, things do go wrong, so here’s some tips for how to prevent a scone fail:
Heavy hitters
If your scones turn out like rocks, it’s most likely due to the dough being overworked – whether at the ‘cutting’ stage (when you’re combining the wet and dry ingredients), kneading the dough or even cutting out the scone shapes. So just remember a simple mantra – gently does it at every stage!
Odd and uneven
Baked a tray of scones that are oddly shaped? This could be down to how you’ve rolled out the dough. The easiest way to ensure evenly sized scones is by perfecting your rolling technique. After each roll, turn the dough 45 degrees clockwise, so the gluten in the flour doesn’t stretch in one direction – that way the scones will rise at a more even rate.
Failure to launch
Flat scones could mean a couple of things: first, make sure the oven temperature is hot enough, 220°C/200°C fan-forced, as they need to rise and ‘set’ quickly. Then place the baking tray in the top half of the oven. Second, we’re back to that mantra again – handle the dough gently at each stage, and try to cut as many scones out of the first rolled-out round of dough as possible, as the more you rework the dough, the less it is likely to rise.

Mix it up
When it comes to tucking into a delicious scone, no-one needs to miss out, so here’s some variations on my basic scones recipe to try.

Gluten-free herb scones
It’s easy to swap out a few ingredients to make your scones gluten-free, and here, the baking powder and buttermilk will help these scones achieve maximum rise. You can replace the parmesan with grated cheddar, and even leave out the cheese and herbs entirely to make plain gluten-free scones for a classic Devonshire tea. Just add jam and cream!

Strawberry & lemonade scones
Lemonade not only adds a hint of sweetness to these luscious strawberry-packed scones, but works as a raising agent to help give them a little extra lift. Blueberries or raspberries would also make great alternatives. I’ve even made separate batches using different berries in each if I’m catering for a crowd.
Wholemeal date scones
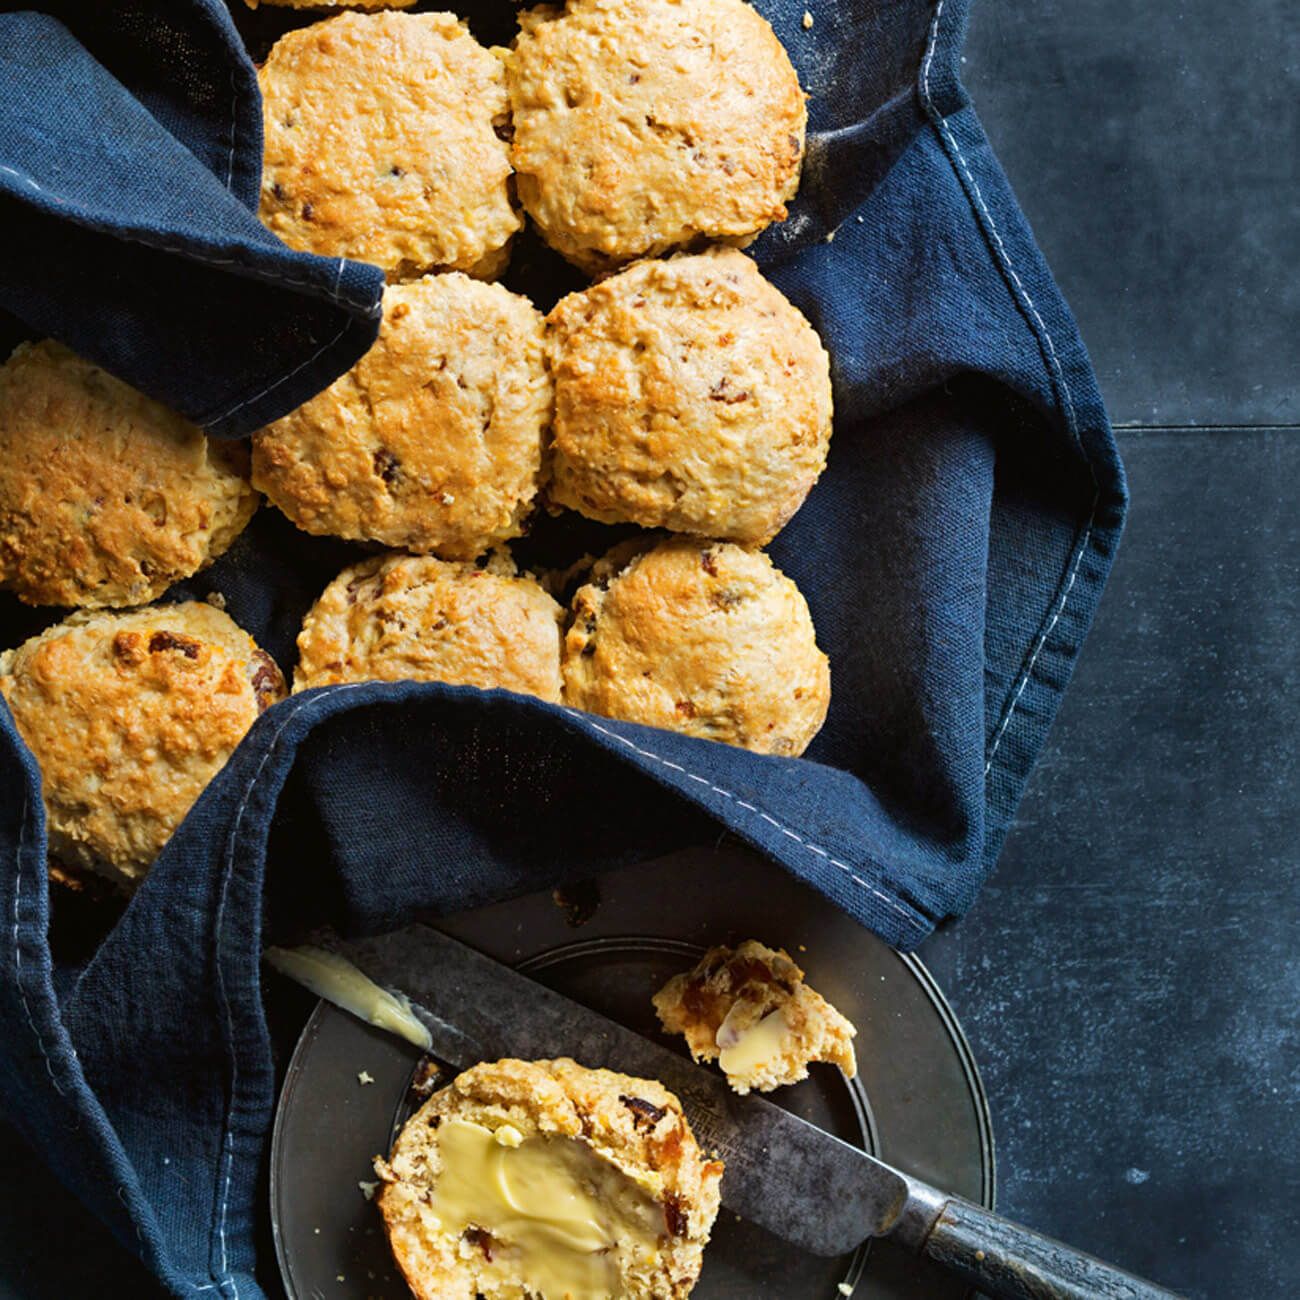
These delicious date-spiked scones are best served simply with butter, although I’ve been known to eat them topped with a slice of cheddar cheese, too! Using half plain and half wholemeal self-raising flour gives a fluffier texture than if you use only wholemeal, and the zingy orange rind and juice complement the sweetness of the dates beautifully.
Cheesy pumpkin scones
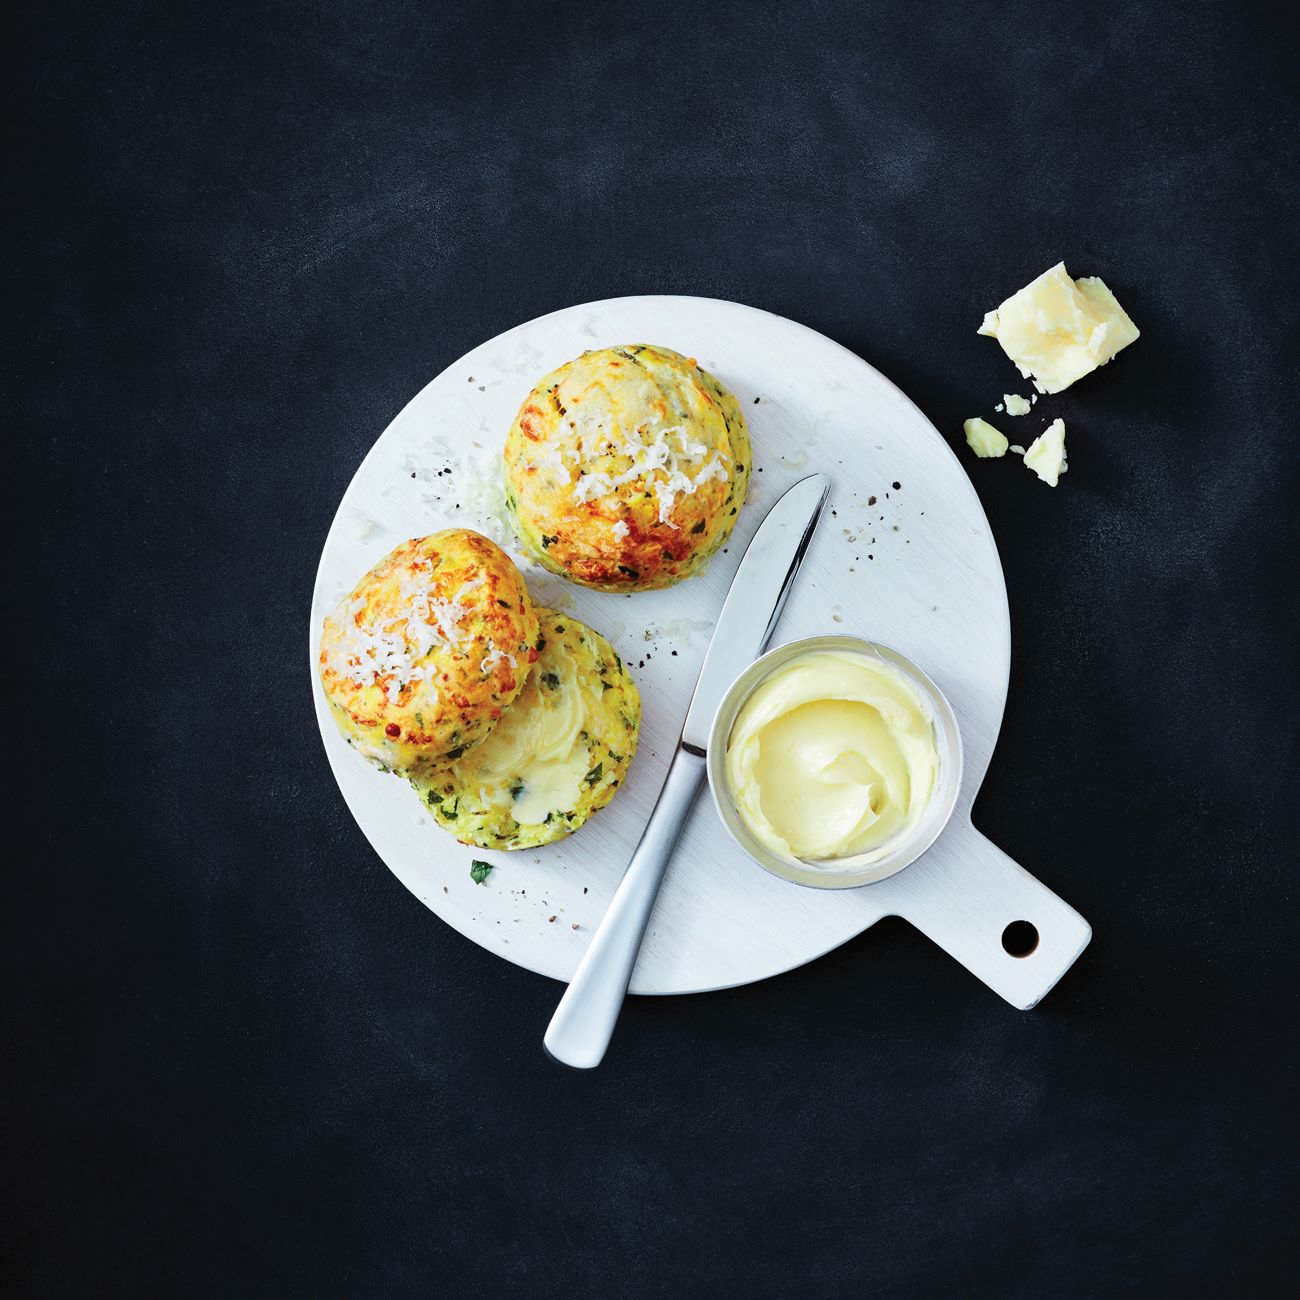
These flavour-packed savoury scones are a morning-tea staple at my place. Cooking the pumpkin with milk means you don’t need to add any other liquid to the dry ingredients. If you don’t have parsley to hand, you could use finely chopped thyme or basil leaves, and grated parmesan makes a great substitute for the cheddar, too.


