DIY Christmas decorations to make this year
:Desktop-1300x658)
Get crafty this Christmas with these easy and festive DIY ideas
Looking to add a personal touch to your festive decor this year? DIY Christmas decorations are the perfect way to celebrate the return of the most wonderful time of the year. With DIY Christmas crackers, ornaments and edible festive touches, these simple and budget-friendly Christmas craft ideas will help you deck the halls without breaking the bank. Get the whole family involved and transform your home into a Christmas wonderland.
01
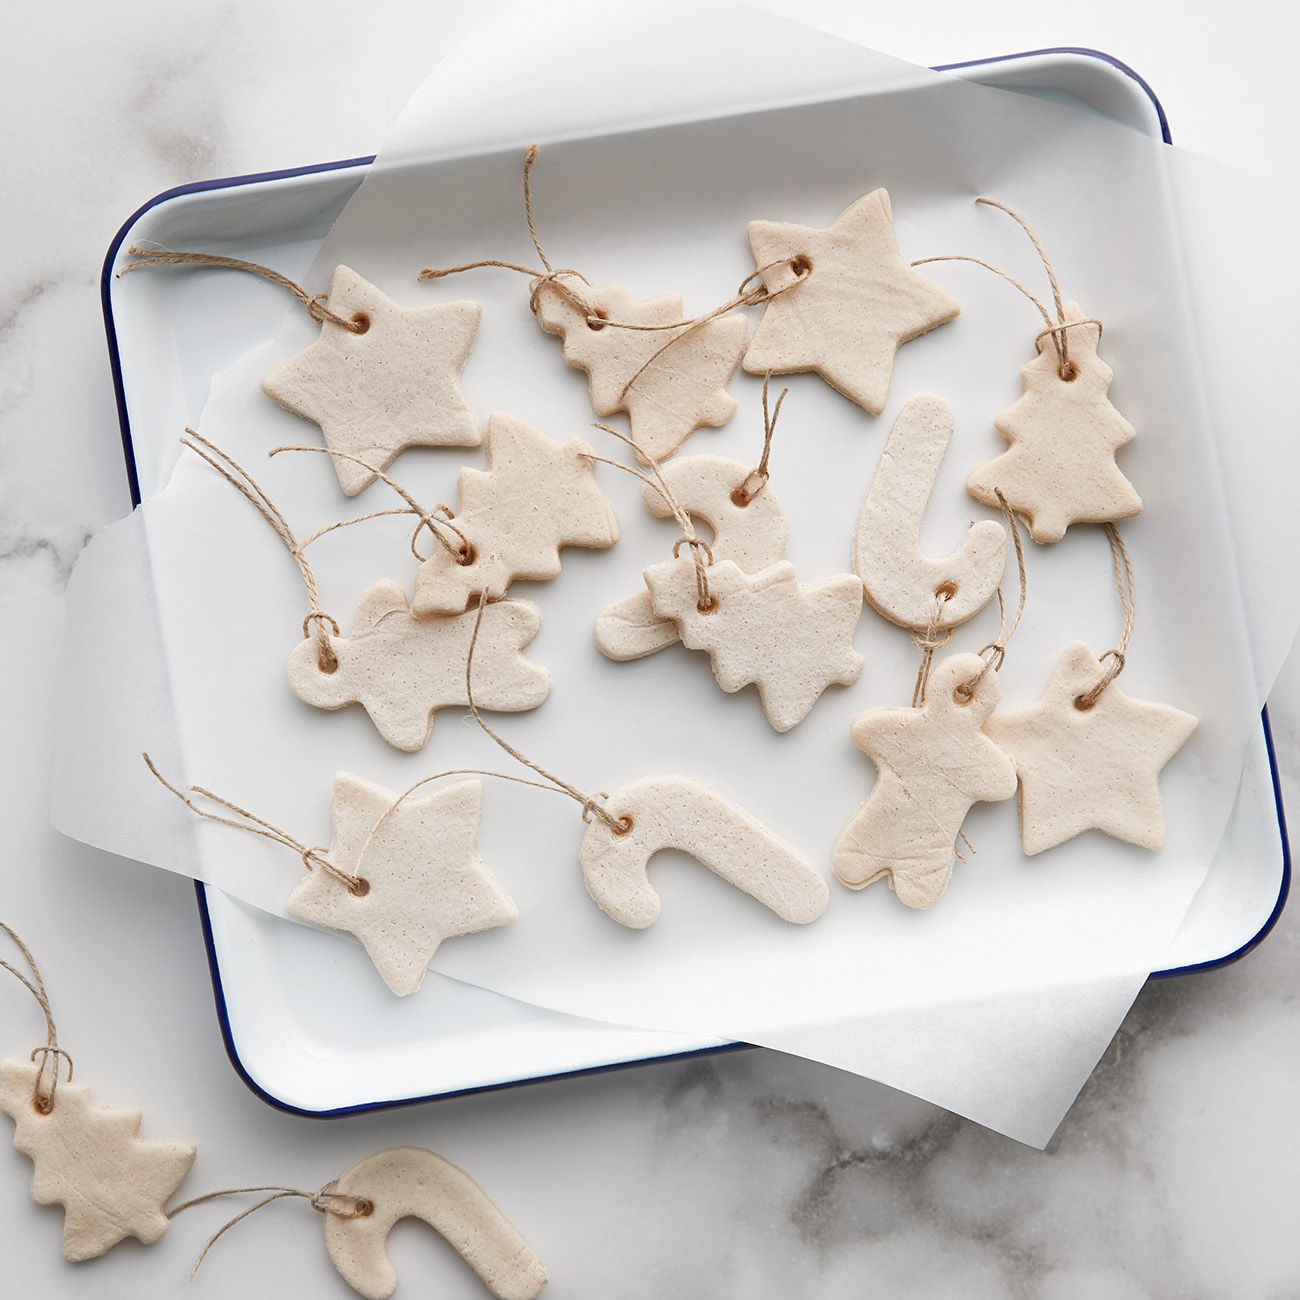
Simple salt-dough ornaments
Salt dough is easy to make and it uses ingredients already in the pantry. Mix 4 cups of plain flour and 1 cup of salt together, then slowly stir in 1½ cups of warm water. Combine first with a spoon, then use your hands as the dough starts to form. Knead until you have a smooth, thick dough. Then it’s time to get creative!
On a floured surface, roll out the dough until 3-4 cm thick, and use cookie cutters to make fun shapes. To add patterns, experiment with what’s in the kitchen, like a textured tumbler or waffled tea towel. Gently press into the salt dough to transfer the designs. Use a straw to poke a hole toward the top of your shape so you can add ribbon or string later.
When you’re ready to harden the salt dough, put ornaments on a lined baking tray, and bake at 50°C (or at the lowest oven setting) for 3 hours, or until dough is solid. Cool completely before use.
What you’ll need to make salt dough
02
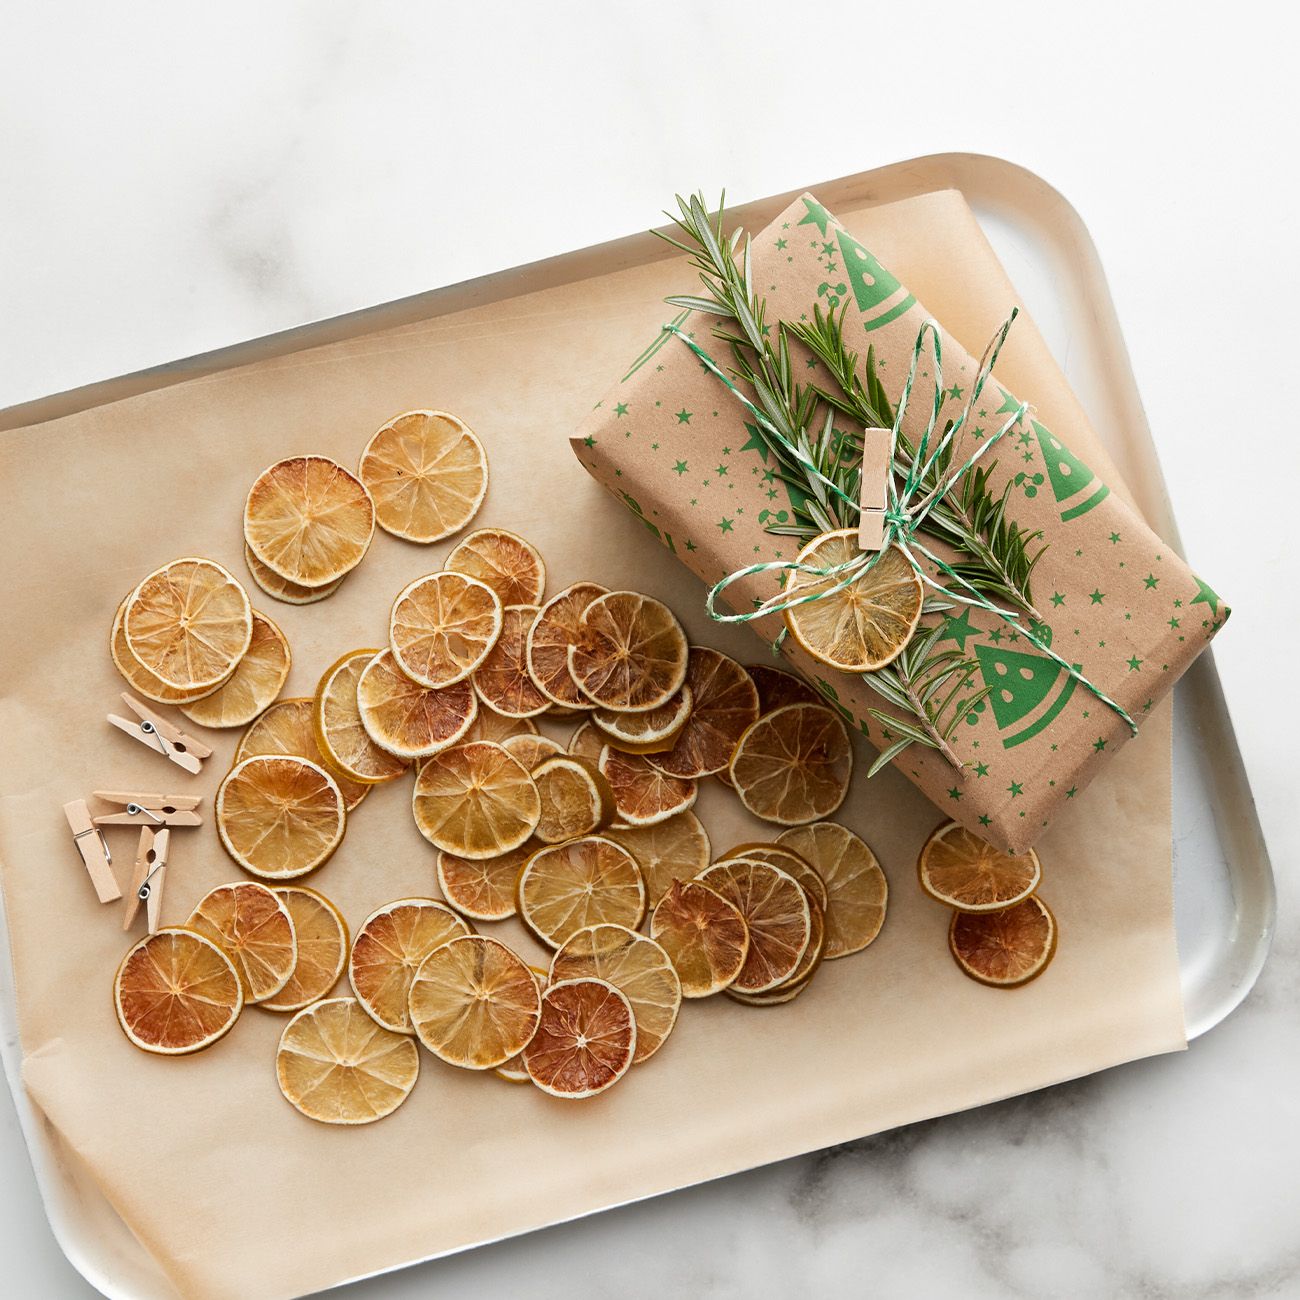
Decorative dehydrated citrus
Dehydrated citrus slices are so versatile. They can be used to garnish drinks, top cakes, or can be placed on a string to add flair to table settings or gifts. Plus, you can use any citrus you prefer: limes, lemons, oranges and even blood oranges work well. We’ve used oranges, but try the method below with your citrus fruit of choice.
To make dehydrated orange slices: slice oranges into wheels and arrange on a lined baking tray. Bake at 90°C/70°C fan-forced for 5 hours, turning slices halfway through, or until dehydrated. Cool completely before use.
What you’ll need to dehydrate citrus
03
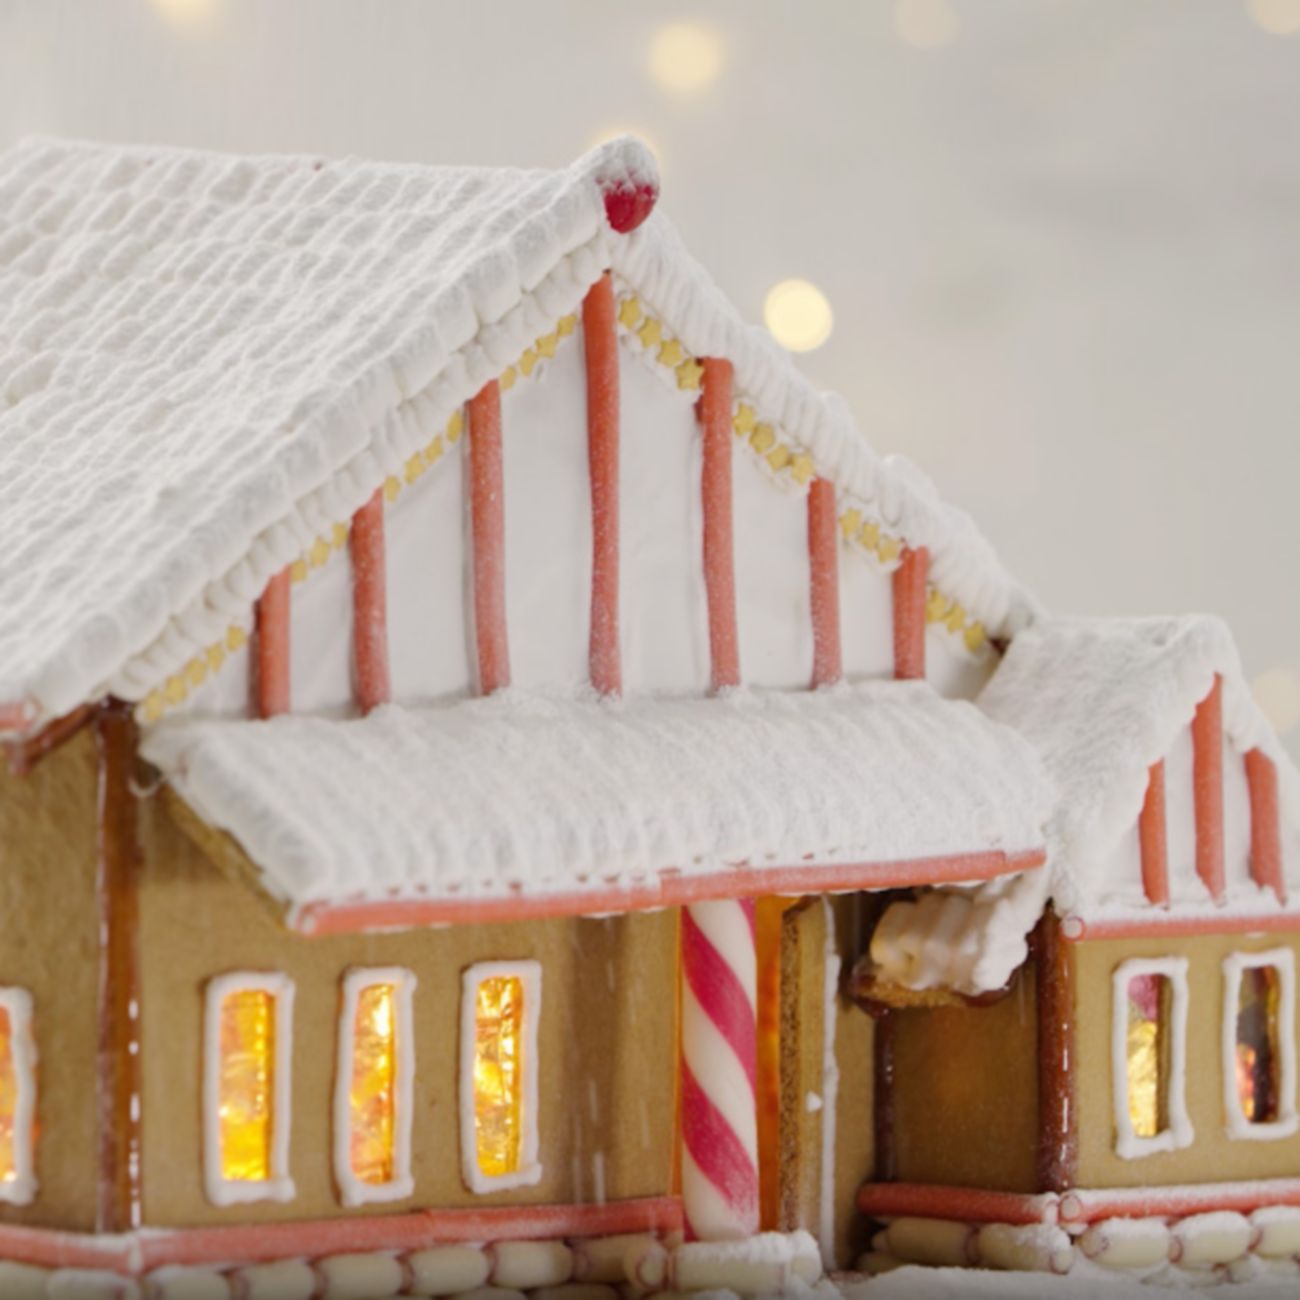
Gingerbread house
Create a new family tradition and build a gingerbread house from scratch. From mixing and rolling the dough to assembling the house and decorating with lollies and icing, everyone can get involved in creating an edible masterpiece. Use our Christmas gingerbread recipe for the dough, and follow our step-by-step video guides below.
Learn how to make a gingerbread house
04
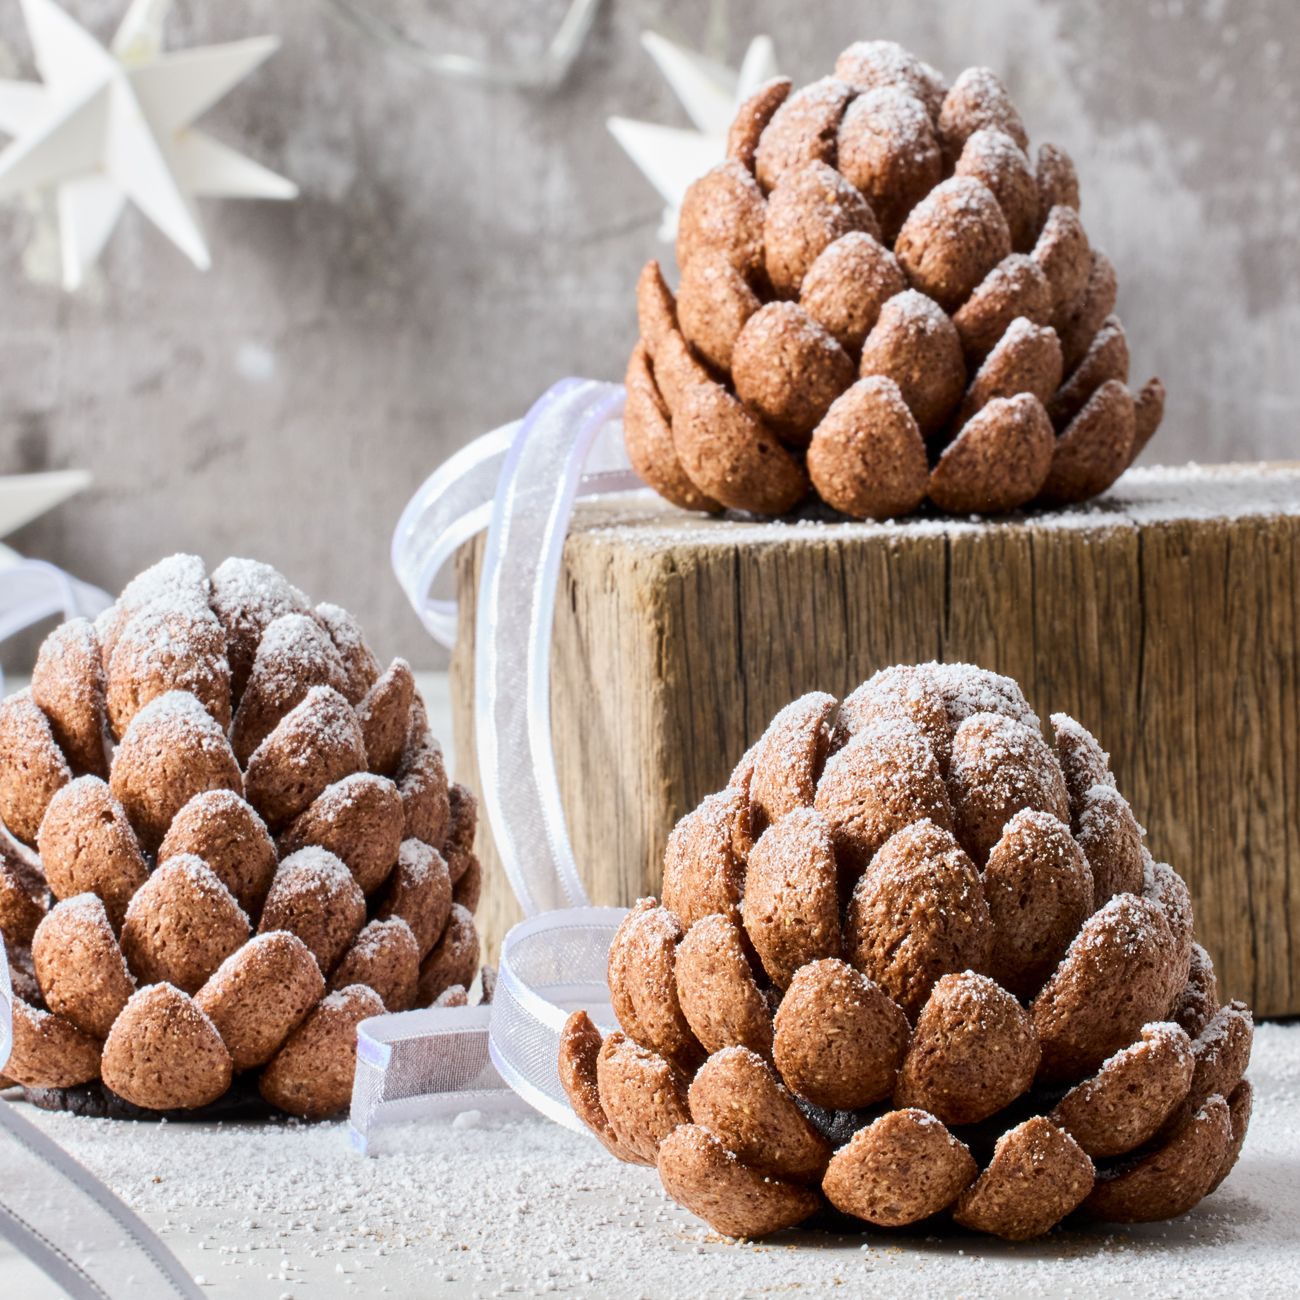
Edible pine cone place settings
Love our chocolate mud cake? Then, you’ll love this Christmas mud cake hack. Using Woolworths mud cake, Biscoff spread and Milo cereal, you’ll end up with impressive chocolate pine cones perfect for place settings on your Christmas table. They’re best made on the day or up to 1 day ahead of time and can be stored in an airtight container prior to the event.
05
DIY Christmas crackers
Get kids excited for Christmas dinner by getting them to make their own Christmas bon bons. In this Christmas craft activity, get them to decorate DIY Christmas crackers with potato stamp prints, stickers or paint, then personalise each one by filling them with your guests’ favourite treats.
What you’ll need for DIY Christmas cracker
06
Festive ice cubes
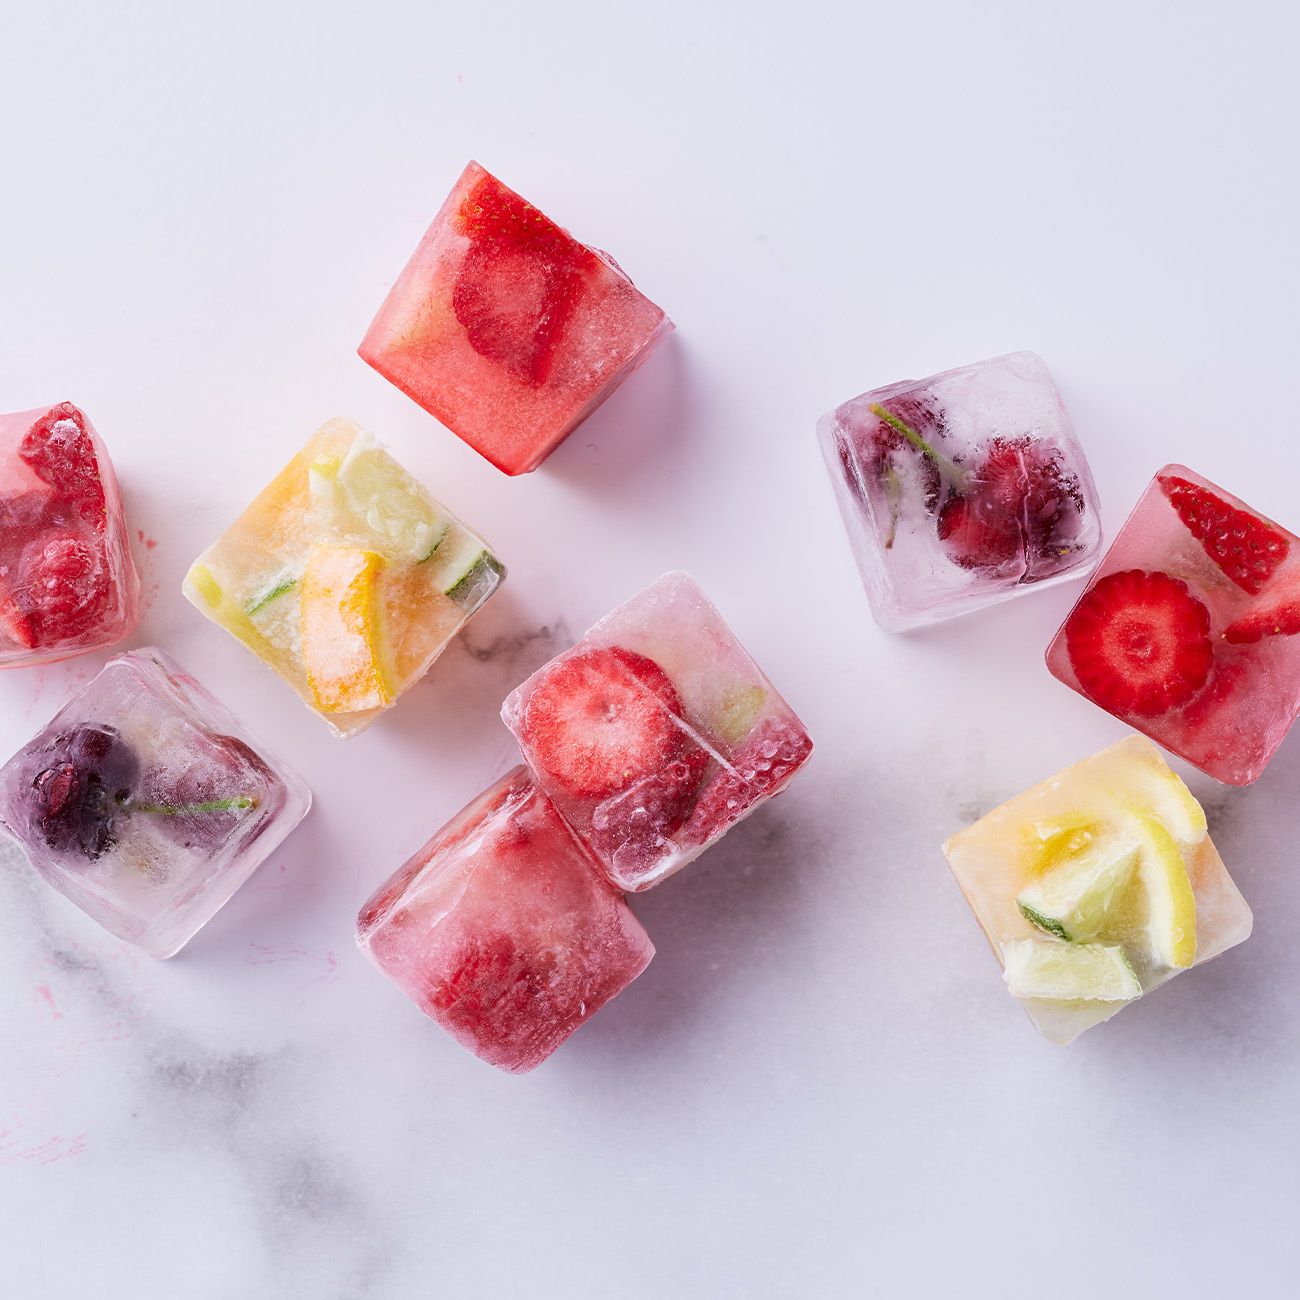
Add extra colour, flavour and flair to drinks with these simple ice cubes. They look great in cocktails or in a jug of water for the table. All you need are ice trays, water and fruit. Try whole berries and slices of strawberry, citrus or cucumber. You could also add fresh herbs, like thyme, basil or mint, or even edible flowers, such as rose petals (just make sure they’re unsprayed!). Use silicone ice trays that make larger cubes or fancy shapes to make your creation extra special.
What you’ll need for festive ice cubes
07
Edible Scrabble
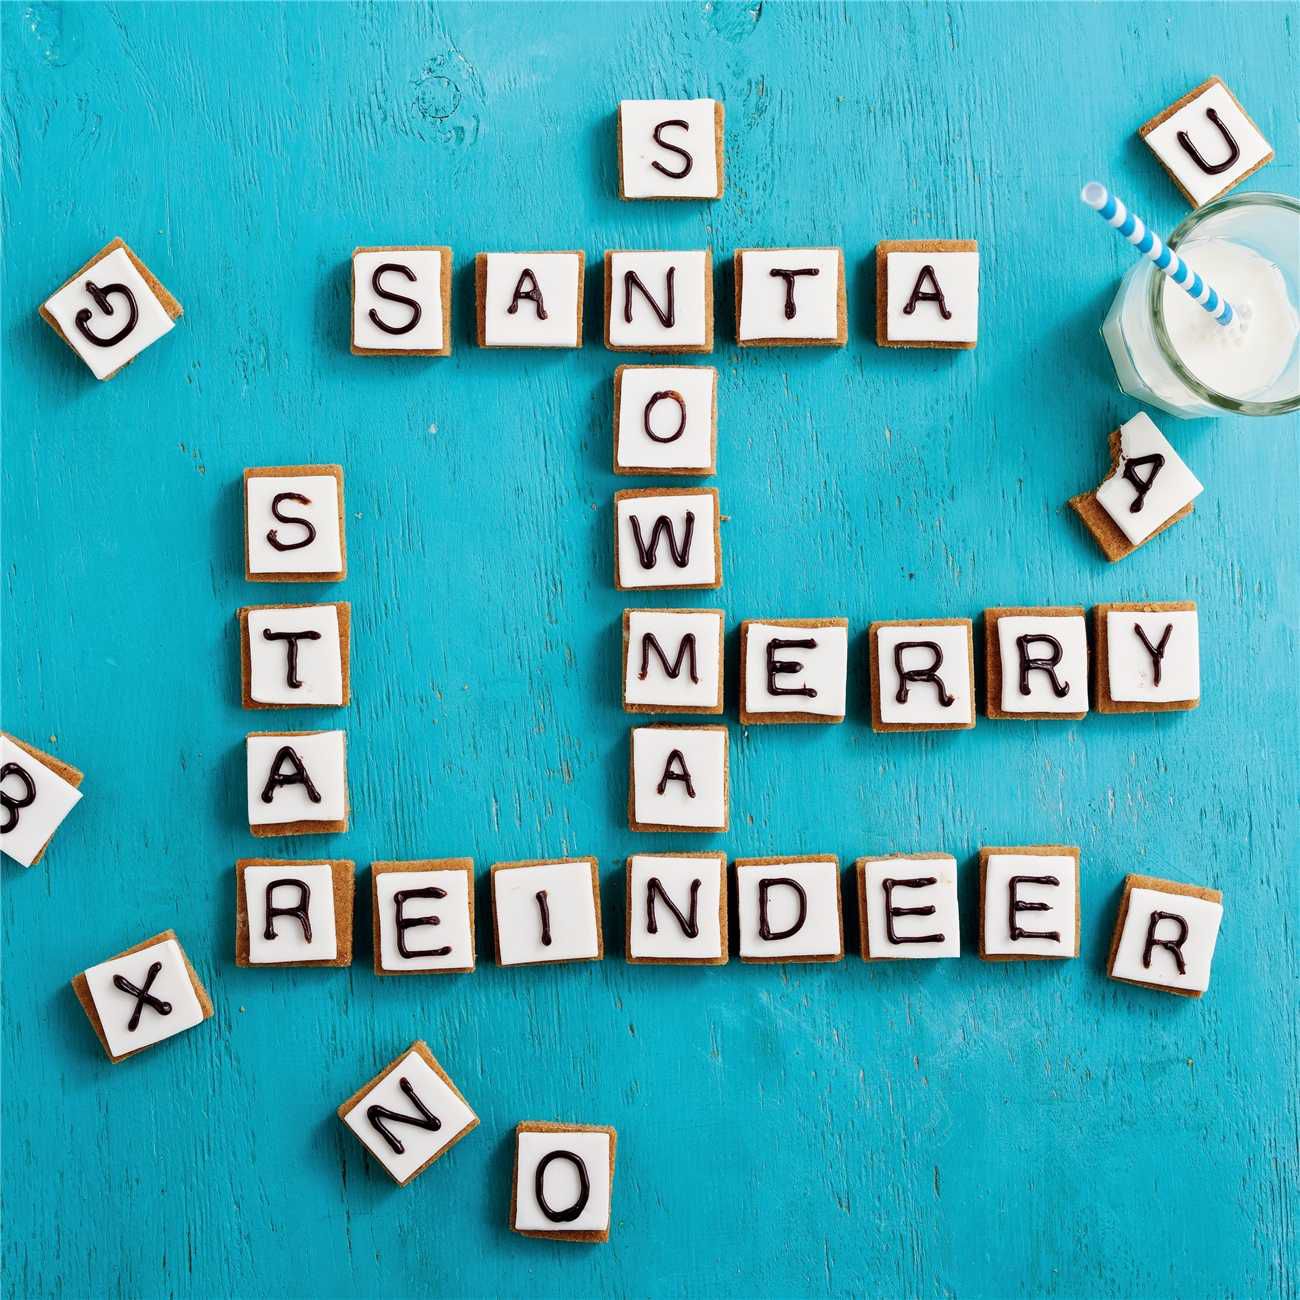
Give Scrabble a festive makeover with this fun, edible twist. These Christmas cookie letter tiles are not only a treat but also double as charming Christmas decorations. Use them as place settings by spelling out your guests’ names, or challenge family and friends to a delicious game where winner eats all.
For a full game, you’ll need 100 letter tiles:
- 12 E tiles
- 9 A and I tiles
- 8 O tiles
- 6 N, R and T tiles
- 4 D, L, S and U tiles
- 3 G tiles
- 2 B, C, F, H, M, P, V, W and Y tiles
- 1 J, K, Q, X and Z tile
- 2 Blank tiles
08
Paper Christmas tree centrepieces
Craft wrapping paper Christmas tree centrepieces to tie your table decor with the gifts under the tree. Get the kids involved, try different squares of wrapping paper to add variety, and use stickers as ornaments for the trees. Don’t forget the star on top!
What you’ll need for paper Christmas trees
09
Ice magic chocolate decorations
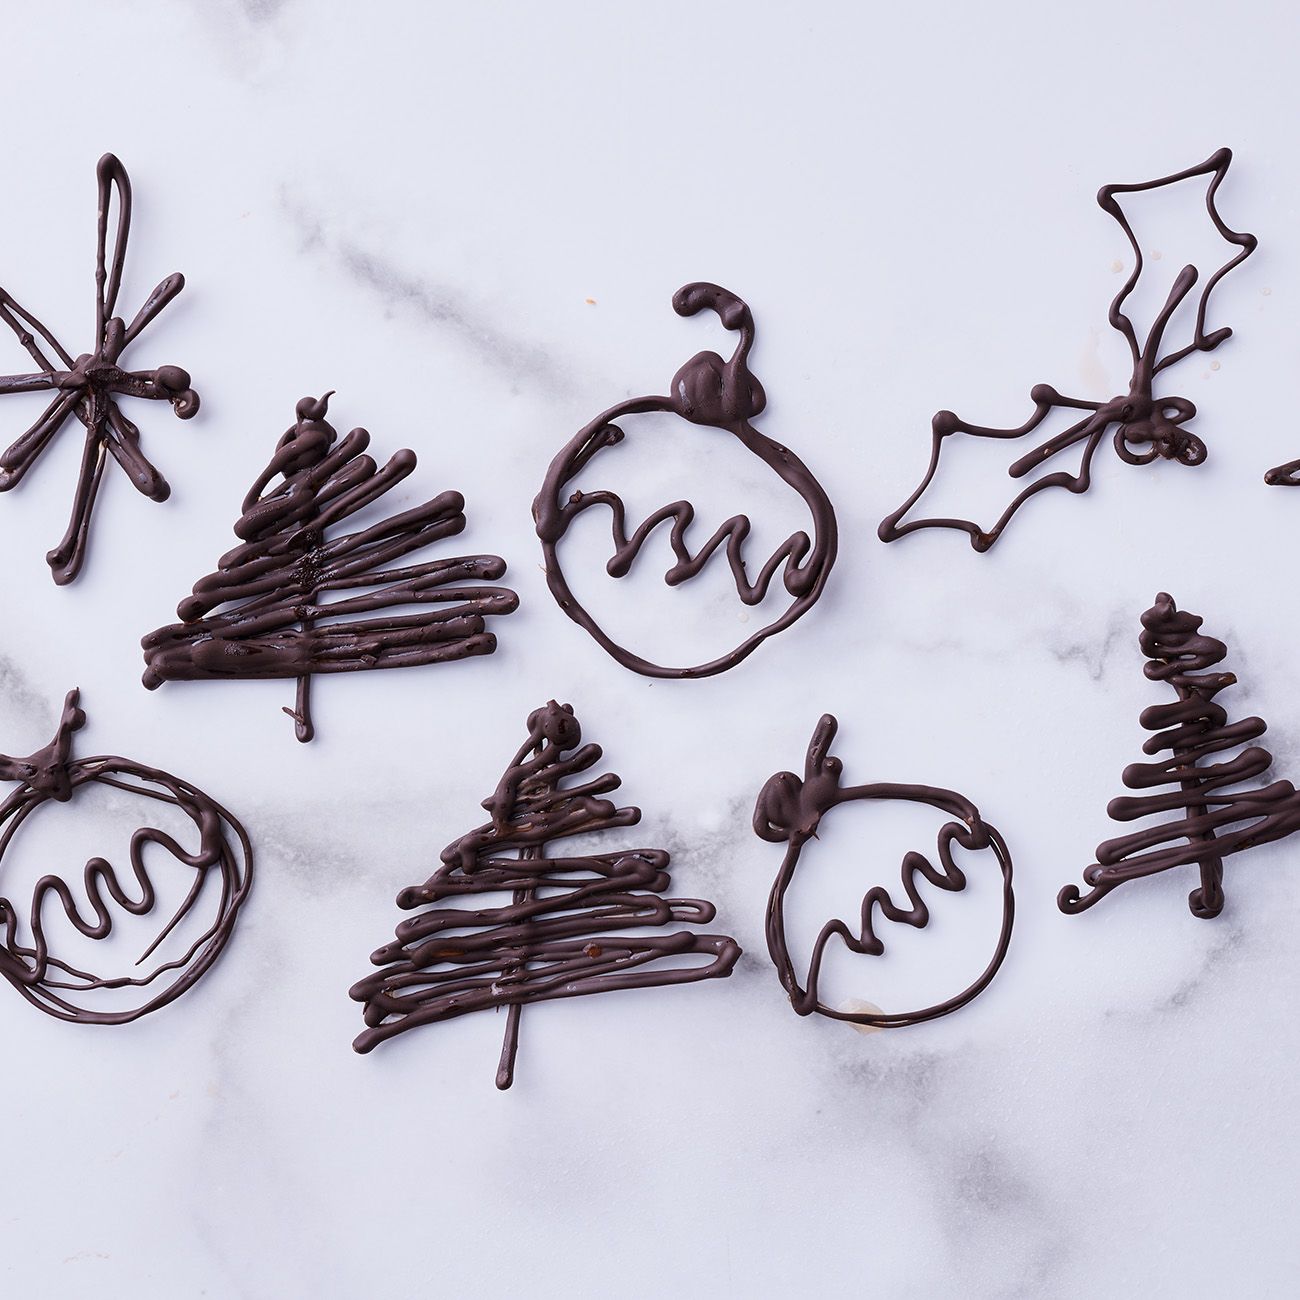
Try this clever trick to create chocolate decorations. You’ll need a large bowl of chilled water, plenty of ice, chocolate (dark, milk or white — it’s up to you!), a piping bag and 1-2 lined baking trays. Simply pipe melted chocolate into the iced water in festive shapes and wait a minute or so for the chocolate to set. It’s easy and looks impressive to boot.
Top tip: make sure your bowls, spoons and saucepans are completely dry when you’re melting chocolate. If it comes into contact with even a few drops of water, the chocolate may ‘seize’ and go grainy.
What you’ll need for chocolate decorations
10
Santa’s treats placemat
The last decoration for the Christmas tree may be the star on top, but the last decoration you’ll need in preparation for Santa’s arrival is his treats placemat. It’s an easy Christmas craft perfect for little ones. Make a place for Santa’s milk and cookies and carrots for his reindeers, and decorate with stickers and pom poms.

